
DRAFT
TM 5-4210-249-13&P-3
0485
INSTALLATION
- - - - - - - - - - - - - - - - - - - - - - - - - - - - - - - - - - - - - -
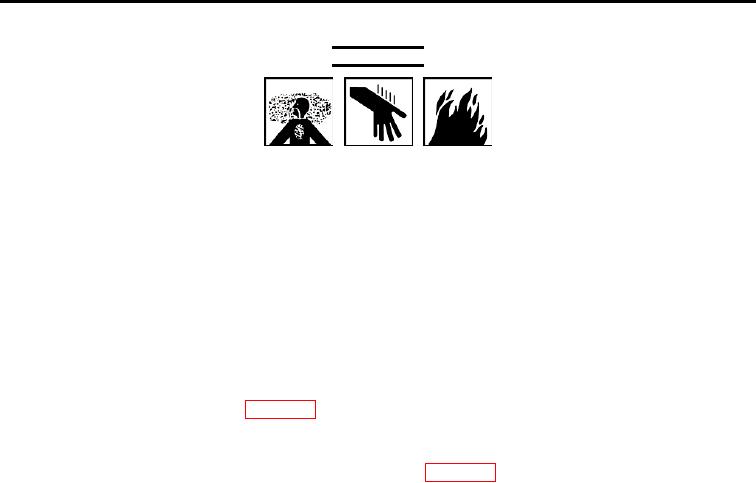
WARNING
ICON 30, 44, 27
Adhesives, solvents, and sealing compounds can burn easily, can give off harmful
vapors, and are harmful to skin and clothing. To avoid injury or death, keep away
from open fire and use in well-ventilated area. If adhesive, solvent, or sealing
compound gets on skin or clothing, wash immediately with soap and water.
1.
Apply sealing compound to threads of nipple (22), fitting (28), and two elbows (3) and (27).
2.
Install nipple (22), elbow (3), and fitting (28) on tee (21).
3.
Install elbow (27) on fitting (28).
4.
Install adapter (26) on valve (20) with four screws (25).
5.
Install adapter (23) on valve (20) with four screws (24).
6.
Install pipe (10) on adapter (23) (WP 0489).
7.
Install nipple (22) and tee (21) on adapter (23).
8.
Install electric motor and drive assembly (19) on valve (20) (WP 0388).
9.
Install pipe (10) on bracket (8) with U-bolt (17) and two locknuts (16). Do not tighten locknuts.
10. With the aid of an assistant, position pipe (10) and bracket (8) on vehicle.
11. With the aid of an assistant, support pipe and install bracket (8) on channel bracket (15) with two screws (14),
four washers (13), lockwashers (12), and two nuts (11).
12. Install pipe (9) on bracket (8) with cradle (7), U-bolt (6), and two locknuts (5).
0485-4