|
| |
TRUCK SERVICE MANUAL
TM 5-4210-230-14&P-1
WHEELS, RIMS, TIRES
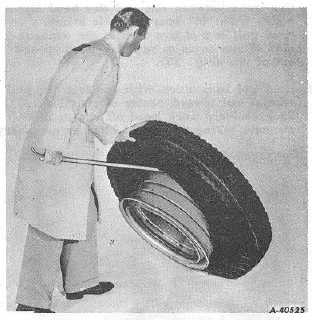
4.
Turn tool so it is perpendicular to rim and pry off
second bead (Fig. 33).
Fig. 33
Mounting Instructions
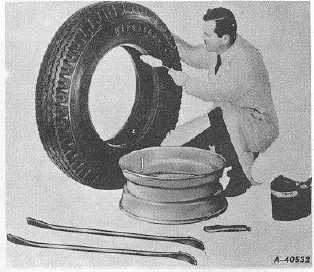
1.
Inspect the rim to insure that bead seats are clean and
smooth. Then place rim on the floor with wide side
down and lubricate first bead of tire and upper bead
seat of rim (Fig. 34).
Fig. 34
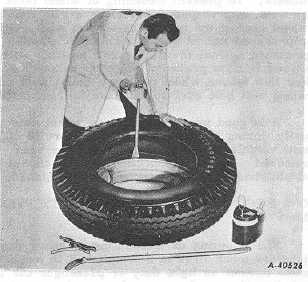
2.
Push the first bead into well of rim and onto rim as far
as possible. Using straight end of tool (with stop
resting on rim flange),
take small bites to work remaining section of first bead onto
rim (Fig. 35).
Fig. 35
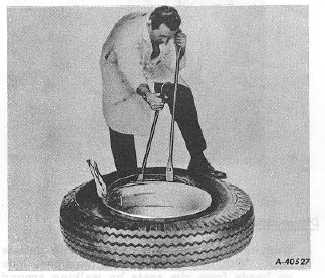
3.
Hold the second bead in the well by standing on tire.
When necessary, push a section of the bead into rim
well and anchor with a vise-grip pliers by pinching the
plier onto the rim flange (snub side toward tire). Using
spoon end of the tire iron with stop toward rim, work
progressively around the bead, using small bites until
bead slips over flange onto the rim base. If necessary,
insert a second tire iron and lubricate the last 15.3 cm
(6") of bead before completing mounting (Fig. 36).
Fig. 36
CTS-2032N Page 12
PRINTED IN UNITED STATES OF AMERICA
|