 |
|||
|
|
|||
|
|
|||
| ||||||||||
|
|
 TM 55-1925-292-14&P
GENERAL SUPPORT MAINTENANCE
FIREFIGHTING, FIRE ALARM, AND FIRE SUPPRESSION SYSTEMS FOR
INLAND AND COASTAL LARGE TUG (LT)
AFFF PUMP, REPAIR
INITIAL SETUP:
Tools and Special Tools:
Materials/Parts (continued):
Tool Kit, General Mechanic's (Item 1, Table 2,
Mechanical Seal (Item 31, Figure 3, WP 0048 00)
Ring, Retaining (Item 35, Figure 3, WP 0048 00)
Materials/Parts:
Personnel Required:
Dry Cleaning Solvent (Item 2, Table 1,
Two Watercraft Engineers, 88L
Gloves, Chemical and Oil Protective (Item 7,
References:
Table 3, WP 0049 00)
TB 43-0218
Goggles, Industrial (Item 9, Table 3,
Lubricating Oil, General Purpose (Item 5, Table
1, WP 0050 00)
Tape, Antiseizing (Item 9, Table 1, WP 0050 00)
Bearing, Ball (Item 36, Figure 3), WP 0048 00)
Gasket (Item 8, Figure 3, WP 0048 00)
Equipment Conditions:
Gasket (Item 12, Figure 3, WP 0048 00)
AFFF pump removed (WP 0029 00).
Gasket, Bearing Cage (Item 30, Figure 3,
WARNING
Never reuse locking hardware. Reuse of locking hardware such as lockwashers,
locking nuts, cotter pins, and lockwire can result in undetected loosening of fas-
tening hardware causing catastrophic component failure resulting in death, in-
jury, or damage to equipment. In accordance with TB 43-0218, ensure that all
locking hardware is discarded upon removal and replaced with new.
DISASSEMBLY
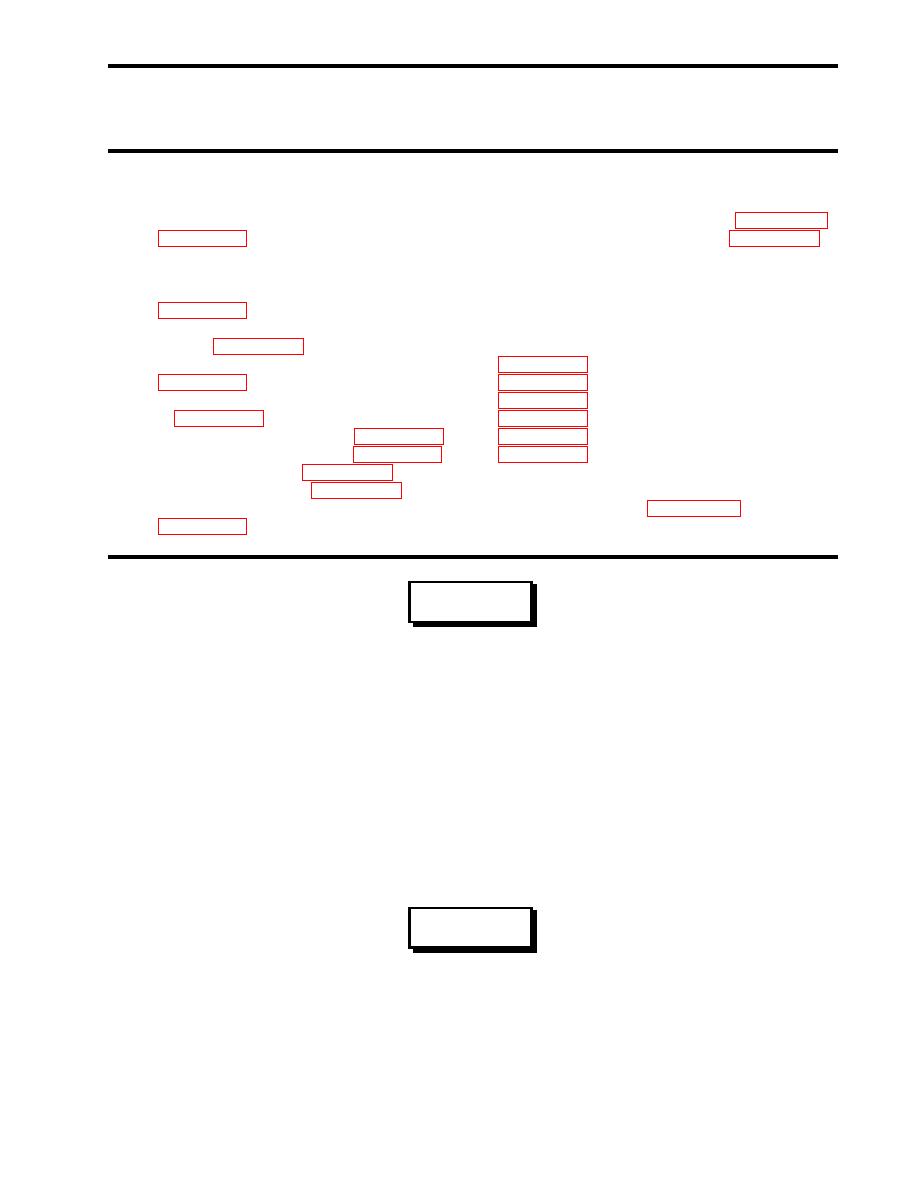
1. Remove the relief valve cap (figure 1, item 1) from the relief valve (figure 1, item 2).
2. Loosen the jam nut (figure 1, item 3) and remove the adjusting screw (figure 1, item 4).
3. Remove and discard the two gaskets (figure 1, items 5 and 6) from the bonnet (figure 1, item 7).
WARNING
Do not expose body parts directly in the path of components under spring ten-
sion. Remove components under spring tension slowly, maintaining positive
control of the component at all times. Failure to comply with this warning may
result in severe personnel injury or death.
4. Remove the bonnet (figure 1, item 7) and gasket (figure 1, item 8) from the relief valve face plate (figure 1,
item 9). Discard the gasket.
0040 00-1
|
|
Privacy Statement - Press Release - Copyright Information. - Contact Us |
