 |
|||
|
|
|||
|
|
|||
| ||||||||||
|
|
 TM 5-4210-233-14&P-1
5-40. FRONT STEERING AXLE-Continued
(25)
Install lock nuts (29) on draw pins (30 a d 31) and torque nuts to 30 to 45 lb ft (41 to 61 N ).
n
m
(26)
Install new gaskets (28) and end caps (27) on steering knuckle. Secure end caps with washers
(26) and screws (25). Tighten screws to a torque of 20 to 30 lb ft (28 to 40 N ). Install four
m
lubrication fittings (24) in end caps.
(27)
Install steering arm (6) through top of knuckle. Install nut (3B) on steering arm and torque to 390 to
725 lb ft (529 to 982 N ). Install cotter pin (3A).
m
(28)
Install key (40) in slot in arm (2). Install arm in knuckle. Install nut (5) on tube arm. Torque nut to
torque of 390 to 725 lb ft (529 to 982 N ). Align holes in nut and arm and install cotter pin (4).
m
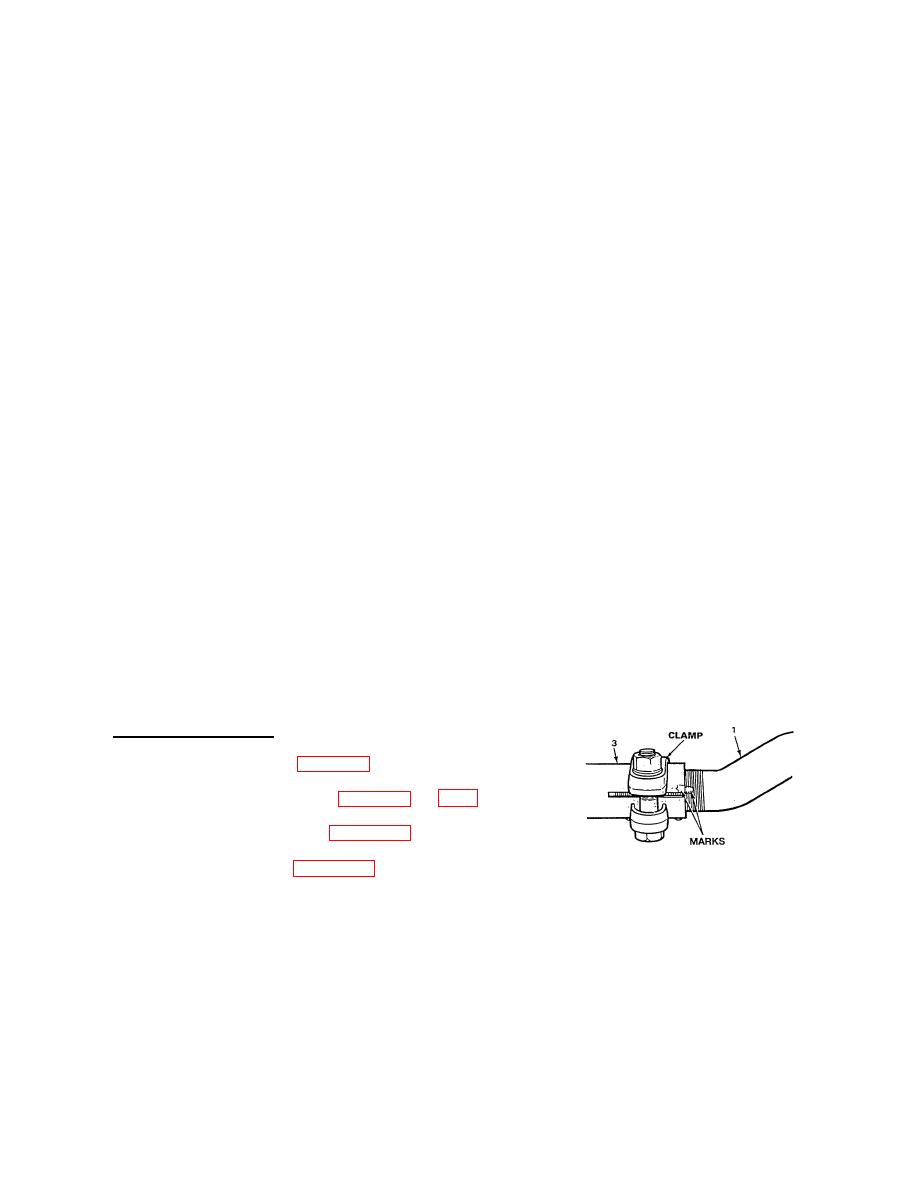
(29)
Install tie rods (1) in cross tube (3). Thread tie rod ends into cross tube to position marked on
removal.
NOTE
If replacing tie rod or cross tube, toe -in must be reset.
The cross tube has right hand thread on one end and left hand
thread on the other end. Make sure ends are installed
correctIy.
(30)
Torque nuts on clamps to 155 to175 lb fl (210 to 237 N ). Install cross tube on axle with tie rods
m
(1) through steering arms. Secure tie rod end with nut. Torque nut to 250 to 450 lb ft (339 to 610
N ).
m
(31)
Place cups (20 and 21) in hub (16). Install bearings (18 and 19) and install new oil seal (17).
(32)
Install hub (16) on knuckle (8). Secure with washer (15), nut (14) and cotter pin (13).
(33)
Install new gasket (12) and hub cap (11) using washers (10) and bolts (9).
(34)
Fill hub (16) with oil (item 45, Appendix E).
d. Follow-on Maintenance.
(1) Install leaf springs (see para 5-41).
(3) Install wheels and tires (see para 4-143).
(4) Connect batteries (see para 4-114).
5-246
|
|
Privacy Statement - Press Release - Copyright Information. - Contact Us |
