 |
|||
|
|
|||
|
Page Title:
#1, #2, #3 AND #4 DISCHARGE VALVES |
|
||
| ||||||||||
|
|
 TM 5-4210-233-14&P-1
4-45. #1, #2, #3 AND #4 DISCHARGE VALVES
This task covers:
a. Removal
d. Assembly
b. Disassembly
e. Installation
c. Cleaning and Inspection f. Follow-on Maintenance
MATERIAL/PARTS REQUIRED:
EQUIPMENT CONDITION
Took Kit, General Mechanics, Automotive
Main Engine Shutdown (see para 2-12 .)
(Appendix B, Section III, Item 1)
APU Shutdown (see para 2-16 .)
Batteries Disconnected (see para 4-114 .)
MATERIALS/PARTS REQUIRED
Curb Side Operators Panel Removed (see para 4-26 .)
Grease, Silicone (Item 11, Appendix E)
Pipe Sealant (Item 2, Appendix E)
Dry Cleaning Solvent (Item 3, Appendix E)
Repair Kit (Figures 14 and 15, Appendix F)
a. Removal
NOTE
To locate valve in question, one person
operates valve handle on pump panel while a
second person watches for valve actuation in
pump compartment to identify valve.
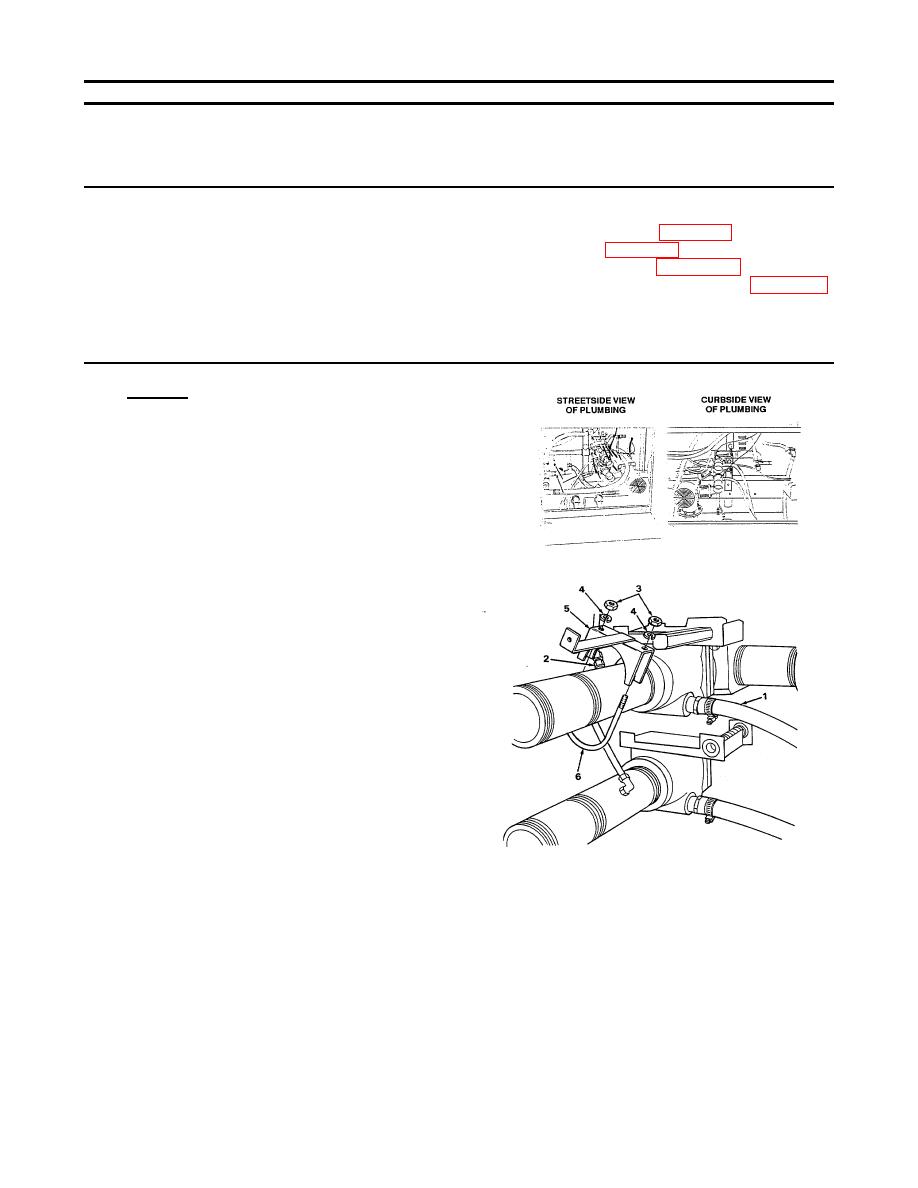
(1) Disconnect drain hose (1) and pressure hose
(2).
(2) Remove two hex nuts (3), two lockwashers
(4), bracket (5) and U-bolt (6).
(3) Mark position of sector (7) on shaft (8).
(4) Remove roll pin (9) and sector (7).
(5) Remove four capscrews (10) and remove
plate (11) from valve.
(6) Remove pipe nipple (12) and hose adapter
(13).
(7) Loosen four capscrews (14).
(8) Turn valve (15) until free of mounting flange
(16).
(9) Remove and discard O-ring (17).
4-234
|
|
Privacy Statement - Press Release - Copyright Information. - Contact Us |