|
| |
TRUCK SERVICE MANUAL
TM 5-4210-230-14&P-1
WHEELS, RIMS, TIRES
Fig. 27
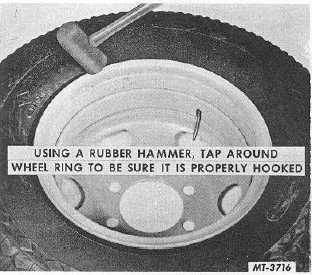
Using a rubber hammer tap around wheel (side) ring to
be certain it is properly seated (Fig. 28).
Fig. 28
When side ring is properly installed on rim, it is loose.
If side ring cannot be moved, the ring is binding.
CAUTION!
TO PREVENT POSSIBLE BODILY INJURY
caused by the wheel side ring being blown off with extreme
violence during inflation, DO NOT stand unprotected in front
of side ring when inflating tire. If no protection device is
available, stand wheel and tire close to a solid wall with side
ring facing the wall. Inflate tire from side opposite ring. If no
solid wall is available place tire and wheel on floor with side
ring next to floor (down) and inflate from above keeping body
AWAY from directly in front of or above tire at all times. See
Precautions, Chapter I.
Inflate tire until tire beads are firmly seated against rim
flanges. CAUTION: Never inflate above 40 psi to seat beads.
Completely deflate tire by removing valve core; then reinflate
tire to recommended pressure.
Refer to "Operator's Manual" for recommended inflation
pressures. /
Fig. 29
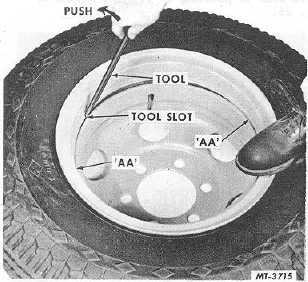
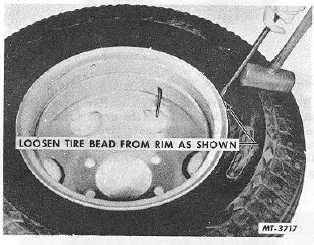
To remove side ring from a new rim, spread the rim
and side ring apart. Insert tool in the tool slot and pull tool to
the left. After side ring starts to lift over lip, remove ring from
rim (Fig. 29).
MOUNTING NUTS (Disc Wheels)
Where Standard automotive type disc wheels have
been used in the past, both left and right hand threads will be
found at the wheel mounting studs and nuts. Common
practice has been to use left-hand threads at the left-hand
wheels and right-hand threads at the right side of the vehicle.
This was done to assure keeping wheel mounting nuts tight.
CTS-2032N Page 10
PRINTED IN UNITED STATES OF AMERICA
|


