 |
|||
|
|
|||
|
|
|||
| ||||||||||
|
|
 TM 55-1925-292-14&P
UNIT MAINTENANCE
FIREFIGHTING, FIRE ALARM, AND FIRE SUPPRESSION SYSTEMS FOR
INLAND AND COASTAL LARGE TUG (LT)
FIRE DETECTION SYSTEM, REPLACE
INITIAL SETUP:
Tools and Special Tools:
References:
Tool Kit, General Mechanic's (Item 1, Table 2,
FM 55-502
Multimeter (Item 3, Table 2, WP 0046 00)
Materials/Parts:
Tag, Danger (Item 8, Table 1, WP 0050 00)
Equipment Conditions:
Set to OFF the FIRE DETECTION SYSTEM. cir-
cuit breaker in 120V emergency distribution
Personnel Required:
panel No. 1. Lock out and tag out (FM 55-502).
Two Watercraft Engineers, 88L
IONIZATION SMOKE DETECTOR REPLACEMENT
REMOVAL
1. Turn the ionization smoke detector cover (figure 1, item 1) slightly counterclockwise and remove.
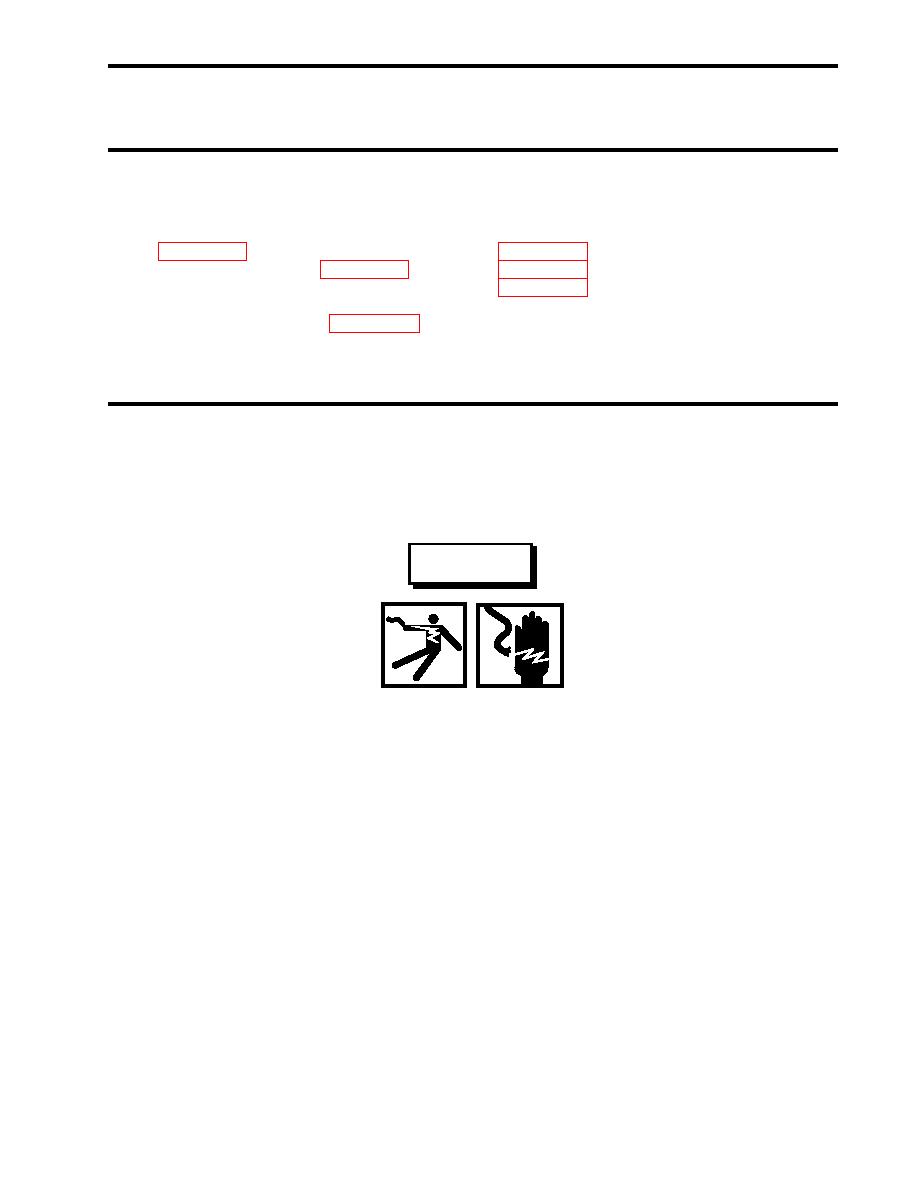
WARNING
Take great care when working around electrical equipment. Contact between
unprotected body parts and electrical conductors can cause serious injury or
death. Do not wear jewelry or other conductive items while servicing energized
electrical equipment. Failure to comply with these precautions can cause seri-
ous injury or death.
2. Take voltage readings with a multimeter at the terminals (figure 1, item 2) to ensure that the electrical circuits
are deenergized. If voltage is present, ensure that the proper circuit breakers are OFF, locked out, and
tagged out (FM 55-502). If no voltage is present, continue with the procedure.
3. Label and disconnect the electrical wiring (figure 1, item 3) from the terminals (figure 1, item 2). If an end of
line device (capacitor) (figure 1, item 4) is connected to the terminals, remove the capacitor and set it aside
for later installation.
4. Remove the two screws (figure 1, item 5) that secure the ionization smoke detector back plate (figure 1, item 6)
to the junction box (figure 1, item 7).
5. Remove the ionization smoke detector back plate (figure 1, item 6).
0019 00-1
|
|
Privacy Statement - Press Release - Copyright Information. - Contact Us |
