 |
|||
|
|
|||
|
|
|||
| ||||||||||
|
|
 TM 9-1240-375-34&P
0103 00
20.
Install new gasket (26) (item 28, WP 0146 00) on mounting bracket (27).
21.
Carefully connect battery enclosure connector (28) to mounting bracket connector (29).
CAUTION
Be careful when assembling components. Do not pinch wire leads or connectors
between parts.
22.
Apply sealing compound (item 13, WP 0152 00) to threads of two machine screws (30).
23.
Install battery enclosure (31) on mounting bracket (27) with two new lockwashers (32) (item 30, WP
24.
Apply sealing compound (item 13, WP 0152 00) to threads of machine screw (33).
NOTE
If cap or wire rope assembly has been replaced, connect the two components.
25.
Install new lockwasher (34) (item 30, WP 0146 00) and machine screw (33) through cap and wire rope
assembly (35) into battery enclosure (31).
26.
Install battery (36) in battery enclosure (31) and secure with cap and wire rope assembly (35).
37
1 fc 7 4 0
27.
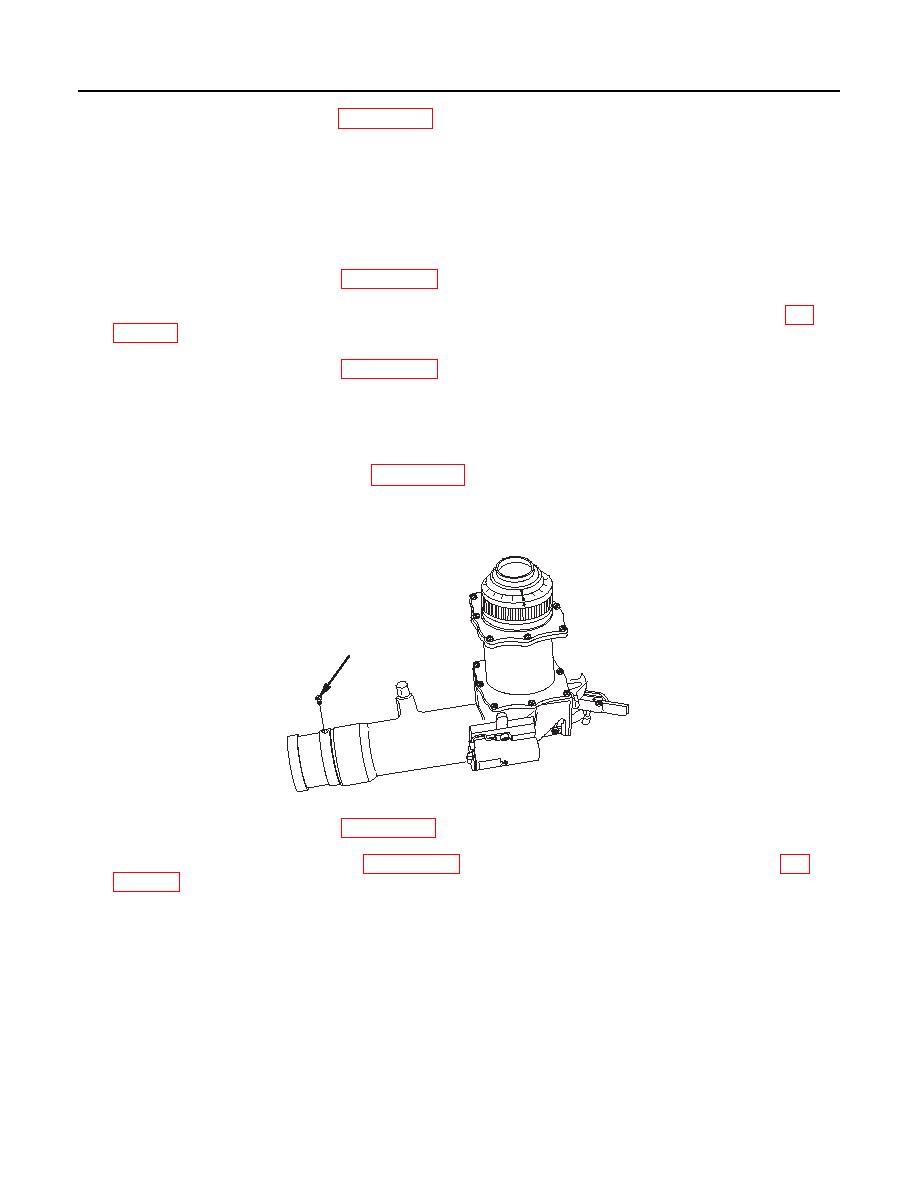
Apply sealing compound (item 13, WP 0152 00) on safety relief valve (37) and install.
28.
Clean lens with lens paper (item 17, WP 0152 00) and optical lens cleaning compound (item 11, WP
END OF WORK PACKAGE
0103 00-11/12 blank
|
|
Privacy Statement - Press Release - Copyright Information. - Contact Us |