 |
|||
|
|
|||
|
|
|||
| ||||||||||
|
|
 TM 55-1925-292-14&P
0020 00
3. Remove and discard the gasket (figure 2, item 4).
4. Slide the basket (figure 2, item 5) out of the strainer (figure 2, item 6) and clean the mesh screen with soapy
water and a wire brush.
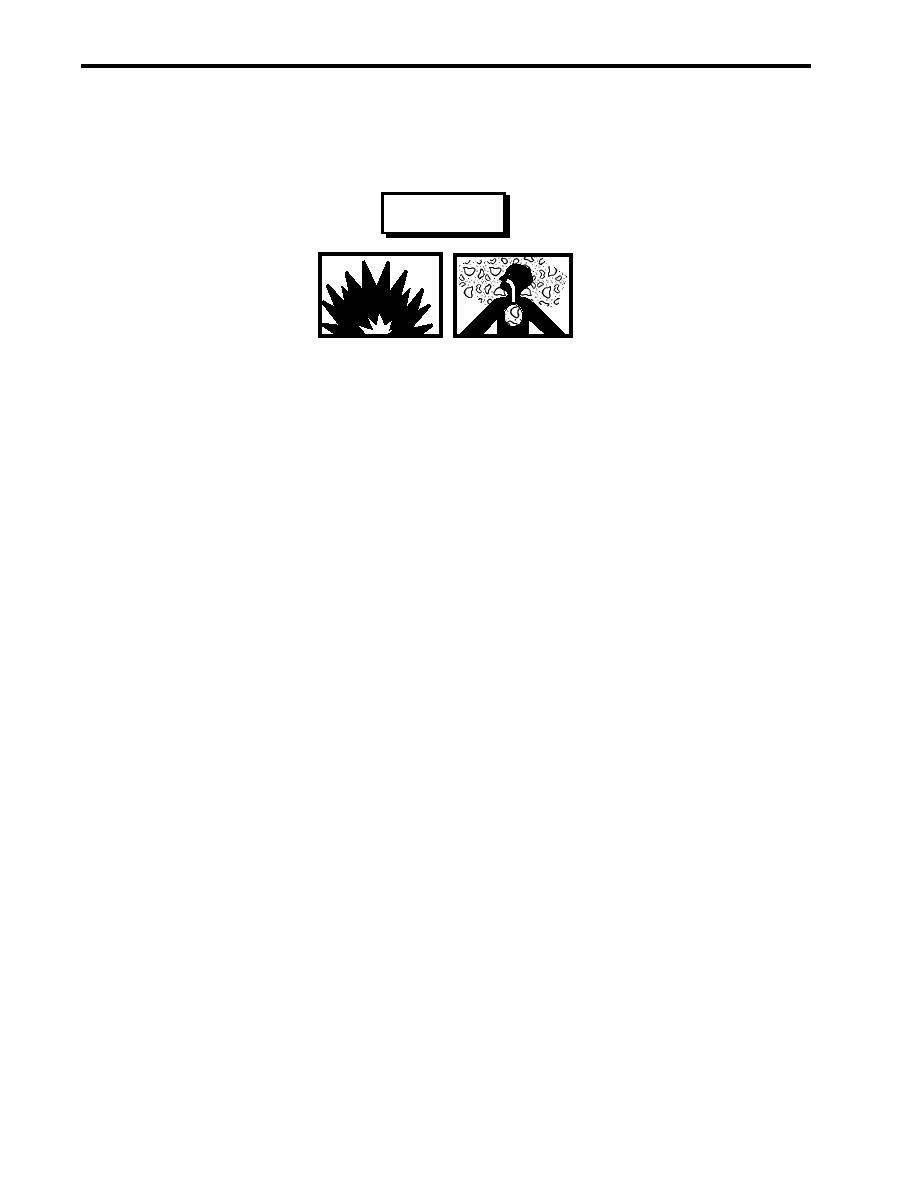
WARNING
Cleaning solvent is flammable and its vapor is potentially explosive. Do not use
cleaning solvent in the vicinity of spark, open flame, or excessive heat. Do not
use cleaning solvent in unventilated spaces. Failure to follow these precautions
can result in death or serious injury.
5. If deposits or other debris are found inside the basket (figure 2, item 5), use dry cleaning solvent and a wire
brush to clean the basket.
ASSEMBLY
1. Install the cleaned basket (figure 2, item 5) into the strainer (figure 2, item 6).
2. Install a new gasket (figure 2, item 4) and the cover (figure 2, item 3).
3. Secure the cover (figure 2, item 3) with the four bolts (figure 2, item 2).
4. Perform the Follow-On Service procedure at the end of this work package.
INLET STRAINER REPLACEMENT
REMOVAL
1. Remove the four bolts (figure 3, item 1) and four nuts (figure 3, item 2) from each of the flanges (figure 3,
item 3).
2. Remove and discard the gaskets (figure 2, item 4) located within each of the flanges (figure 3, item 3).
3. Remove the strainer assembly (figure 2, item 5) from the piping (figure 3, item 6).
4. Thoroughly clean the flanges (figure 3, item 3).
0020 00-4
|
|
Privacy Statement - Press Release - Copyright Information. - Contact Us |