 |
|||
|
|
|||
|
|
|||
| ||||||||||
|
|
 TM 5-4210-233-14&P-1
5-71. APU CRANKSHAFT, BEARINGS AND SEALS - Continued
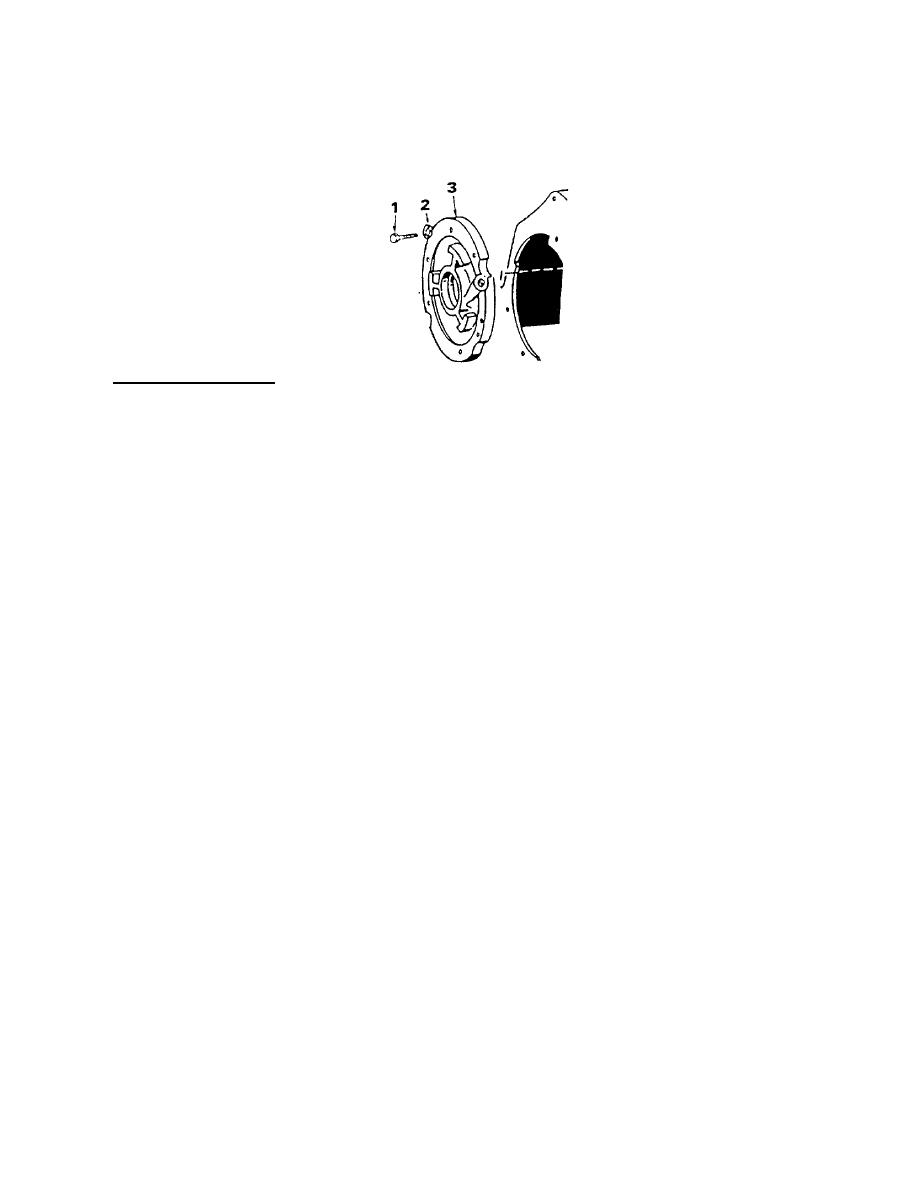
(5) Remove the rear bearing plate (3) from the crankcase by removing six bolts (1) and twelve washers (2).
(6) Remove the crankshaft through the rear opening.
b. Cleaning and Inspection.
WARNING
Dry cleaning solvent P-D-680 (safety or Stoddard's solvent) is
potentially dangerous. Avoid repeated and prolonged breathing
of vapors and skin con- tact with the liquid. Do not use near
open flame, arcing equipment or other ignition sources. Always
wear eye protection and protective clothing. The flash point of P-
D-680 is 1 00 to 138 deg. F (38 to 59 deg. C).
Death or serious injury could occur if compressed air is directed
against the skin. Do not use compressed air for cleaning or
drying unless the pressure is/has been reduced to 30 psi (2.11
kg/cm 2) or less. When working with compressed air, always use
chip guards, eye protection, and other personal protective
equipment.
(1) Clean the crankshaft with dry cleaning solvent (Item 3, Appendix E) and blow out all oil passages.
Check journals for out-of-round, taper, grooving or ridges. Pay particular attention to ridges or grooves
on either side of the oil hole areas. Unusual conditions here often point to previous neglect of oil
changes.
(2) Replace main bearings if bearings are worn, grooved or broken. Precision replacement bearing inserts
and thrust washers are available for all main bearings. Do not ream the bearings. Align the oil holes
and press the new bearings into the front and rear housings.
(3) The rear oil seal is in the rear bearing plate. If damaged, drive it out from the inside of the plate. Using
the oil seal installing tool, install a new seal with the rubber lip facing outward (open side of seal
inward). Drive the new seal flush with the rear surface of the bearing plate. Leave the seal installer on
during bearing plate installation to protect the oil seal.
5-381
|
|
Privacy Statement - Press Release - Copyright Information. - Contact Us |
