|
| |
TRUCK SERVICE MANUAL
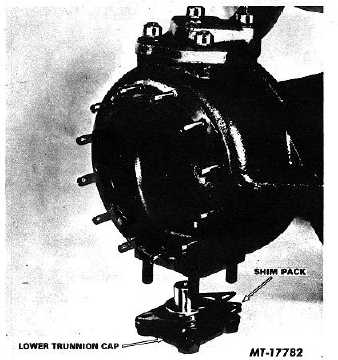
Fig. 5 Trunnion Cap Retaining Nuts
6.
Remove lower trunnion cap and shim pack (Fig. 6).
Retain and mark shim pack for reassembly.
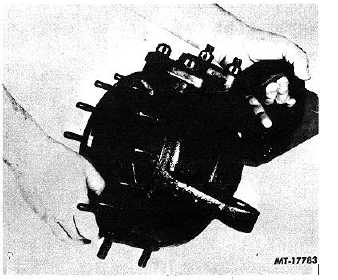
Fig. 6 Trunnion Cap and Shim Pack
The lower trunnion bearing will lay loose on bottom of
trunnion housing when lower trunnion cap is removed.
Remove lower trunnion bearing by pulling trunnion
housing away from axle housing to provide access to
bearing as shown in Figure 7.
Fig. 7 Removing Trunnion Housing
7.
Remove trunnion housing from axle housing by tilting
bottom of trunnion housing out and pulling housing
upward (Fig. 7).
The upper trunnion housing bearing will lay loose on
upper bearing race of axle housing end when trunnion
housing is removed. Remove upper trunnion bearing.
8.
Place trunnion housing on workbench and remove
upper
trunnion
cap
retaining
nuts
(previously
loosened), lockwashers, trunnion cap and shim pack.
On trunnion housings equipped with steering arms,
remove steering arm retaining nuts exposing tapered
dowels shown in Figure 8. Tapered dowels will be
used with steering arms only.
9.
To remove tapered dowels, work the steering arm back
and forth until enough of the dowels are exposed to
allow dowels to be gripped with a pliers or other
suitable tool.
10.
With tapered dowels removed, pull steering arm off of
mounting studs and upper trunnion pin (Fig. 9).
Remove upper trunnion cap shim pack. Retain and
mark shim pack for reassembly.
CTS-2658S Page 14
PRINTED IN UNITED STATES OF AMERICA
|